Corsair Cove Ship Building Guide
From first Shallow Pier and Landlubber to Tier 2 hulls, rope stockpiles, and Salvage Docks.
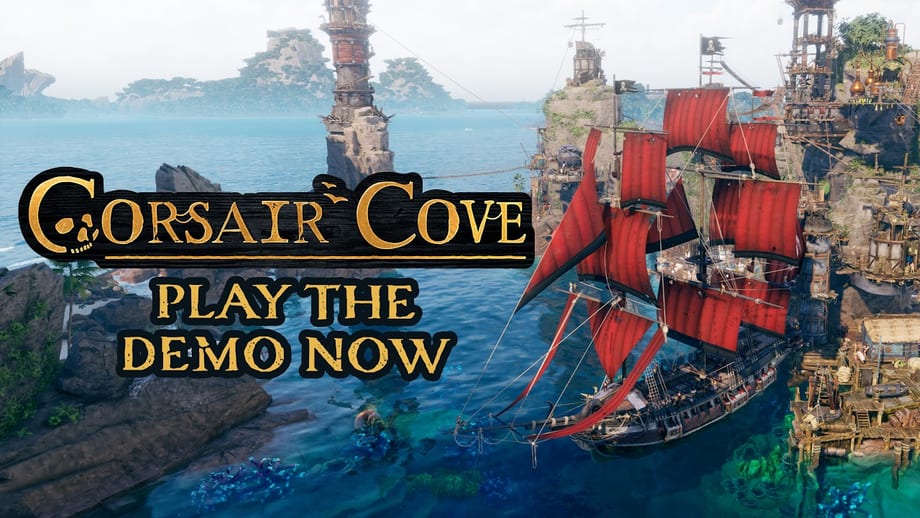
Ships turn Corsair Cove from a cliffside stew puzzle into a pirate power fantasy. This guide covers the retail 1.0 shipyard loop: place a Pier, construct a Landlubber, crew it without starving the sawmill, then graduate to Tier 2 / Tier 2+ hulls once Compass pairs and rope stockpiles are ready. Pair it with Tier 2 ships unlock, How to get rope, and Naval combat.
If a stuck Pier tutorial banner blocks your view, fix that first via Build Your Pier stuck fix and Patch #1.
Step 1 — Claim a Pier slot
Piers only snap to predetermined coastal plots inside a pirate camp radius. You cannot free-place docks on open water.
- Open Building → Community (labels vary slightly by localisation) and select Shallow Pier / Pier.
- Mouse along the coastline until a valid slot highlights — the first camp usually has exactly one early slot.
- Place the foundation (placement itself is free).
- Deliver materials — community guides commonly cite about 30 wooden planks for a Shallow Pier; always trust the live construction tooltip.
- Connect the Pier to the pirate camp with the connection tool. Unconnected piers stall builders and later crew services.
Route planks from a nearby warehouse. Red path colours mean fetchers walk too far — fix with shorter paths, ziplines, or a second camp that actually owns a pier slot.
Step 2 — Build the Landlubber
Your first hull is the Landlubber (Tier 1). Typical flow:
- Select the finished Pier.
- Choose Start ship construction → Landlubber.
- Pay the plank cost shown in the tooltip (often around 15 planks for the starter hull — confirm in-game).
- Pause non-critical industries if you are short on free pirates; ship construction and crewing both compete for the same drifter pool.
- When the hull finishes, open the Pier crew panel and assign sailors before embarking.
Keep a local stew distributor near the Pier so builders and crew services do not hike across the island mid-construction.
Step 3 — Crew without collapsing the colony
Early crews are Swabbies — cheap, weak, and hungry. Rules of thumb:
- Stock food and later grog before filling every berth.
- Pause a sawmill or secondary chain temporarily if you need ten-plus free pirates for the first voyage.
- After combat, use Repair Ship at the Pier and manually replace dead crew — repairs do not auto-refill berths.
- Read Crew morale before stacking All Hands on Deck while half your workforce sails away.
Captains modify dice and card options but never replace missing hull stats. See the captains tier list.
Step 4 — Tier 2 materials and pier logistics
Higher hulls need more than planks:
| Need | Why |
|---|---|
| Rope | Core Tier 2+ cost alongside planks (often 50 planks + 50 rope) |
| Leafcutter → Rope Maker chain near the Pier | Short Fibre routes keep shipyards fed |
| Salvage Dock (Empire) | About −20% build/repair cost per dock, stacking multiplicatively |
| Second Pier | Often required so a second camp claims another coastal slot |
| Advanced crew upkeep | Rum (Picaroons) or Cassava Bread (Scallywags) before launch |
Do not upgrade a Landlubber into the wrong Tier 2+ hull just because you have spare rope. Pick the Compass pair that matches your next mission — Progression path and Tier 2 ships unlock list Goldseeker, Azimuth, Steel Edge, and Huracan pairings.
Production chains that feed the shipyard
Beyond rope, mid-game hulls pull in sails, pitch, fittings, flags, and specialised goods. Use Production chains and the production ratios reference for balanced buildings. Keep the shipyard loop local:
Fibre deposit → Leafcutter → Rope Maker → Warehouse → Pier
Scatter those buildings across three cliff shelves and your Tier 2 keel will wait while fetchers climb stairs.
Combat readiness before embark
- Repair hull damage before leaving port.
- Top up supplies and crew.
- Match the ship role to the event — gun/armor for Crown ports, speed for merchant chases, boarding for treasure caves.
- Pin active Deeds so sea work also advances Compass points.
Walkthrough pacing: First ship and exploration and Opening route Skull Rock.
Common shipyard failures
| Problem | Likely cause |
|---|---|
| Cannot place Pier | Outside camp radius or no free predetermined slot |
| Foundation never finishes | Planks not delivered / red routes / missing camp connection |
| Cannot start Landlubber | Pier incomplete or tutorial objective still gating |
| Crew button greyed out | Not enough free pirates or unpaid hiring cost |
| Tier 2 locked | Missing Compass points in the required Principle pair |
| Mutiny after sailing | Advanced crew upkeep empty at the distributor |
Related reading
Build the dock logistics first. The keel is the easy click at the end of a healthy supply chain.
Frequently Asked Questions
Quick answers to the most common questions.
How do I build a ship in Corsair Cove?
Place a Pier on a predetermined coastal slot, connect it to a pirate camp, deliver planks, then use the Pier UI to construct a Landlubber and assign crew.
How many planks does a Shallow Pier need?
Community guides commonly cite about 30 planks for a Shallow Pier foundation. Always confirm the live construction tooltip in your build.
What is the first ship I can build?
The Landlubber Tier 1 hull. Higher ships unlock through Technology Compass Principles and Deeds.
Why is my Pier construction stuck?
Check camp connection, plank delivery routes, and free builders. If only the tutorial banner is stuck while the Pier works, install Patch #1 and finish the next objective.
What materials do Tier 2 ships need?
Many Tier 2+ hulls list around 50 planks and 50 rope plus advanced crew upkeep. Salvage Docks reduce build and repair costs.